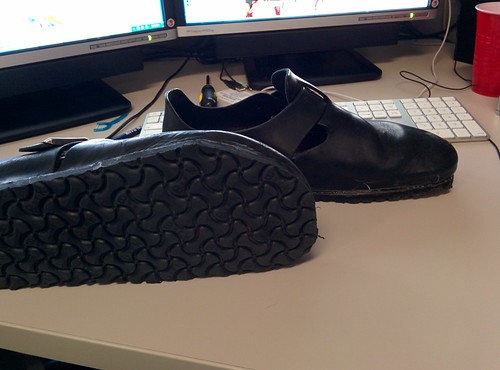
This would be the 3rd soles on these birks. I still need to grind down the edges and clean them up, but that was not too hard at all. A quick google led me to an instructable about replacing the sole on a pair of birkenstocks. I picked up the material from DIY Footwear for $22 after shipping and procrastinated for a couple weeks. I got the larger sheet to have more material to work with and I am glad I did.
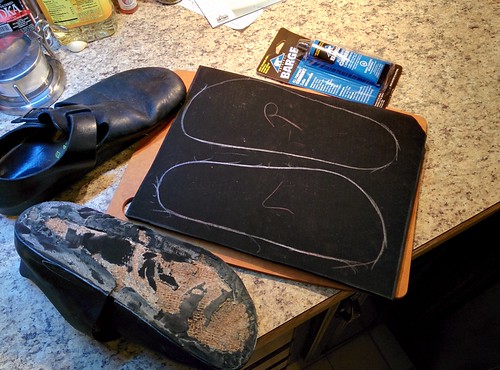
About a decade ago I learned a hard lesson. I cleaned up some birkenstock sandals really good and set them in the oven to dry them. The soles shrank and peeled right off. I searched for folks using the oven method to remove the soles and only found one mention. I decided to go for it and it made removing the old sole easier, but it still took a lot of work. I used an OLFA Utility Knife to get the soles off.

Smooshed them overnight and they were good to go in the morning. The hood vent in the kitchen helped keep the baked shoe and glue smell to a minimum. I think it costs just a bit more to send them in for replacement, but I did not want to be without my fave shoes, they are such good standing shoes for women but I’ve had them for too long and these are a bit beat up and worth the risk of doing it on my own. I would do it again.
No tags